

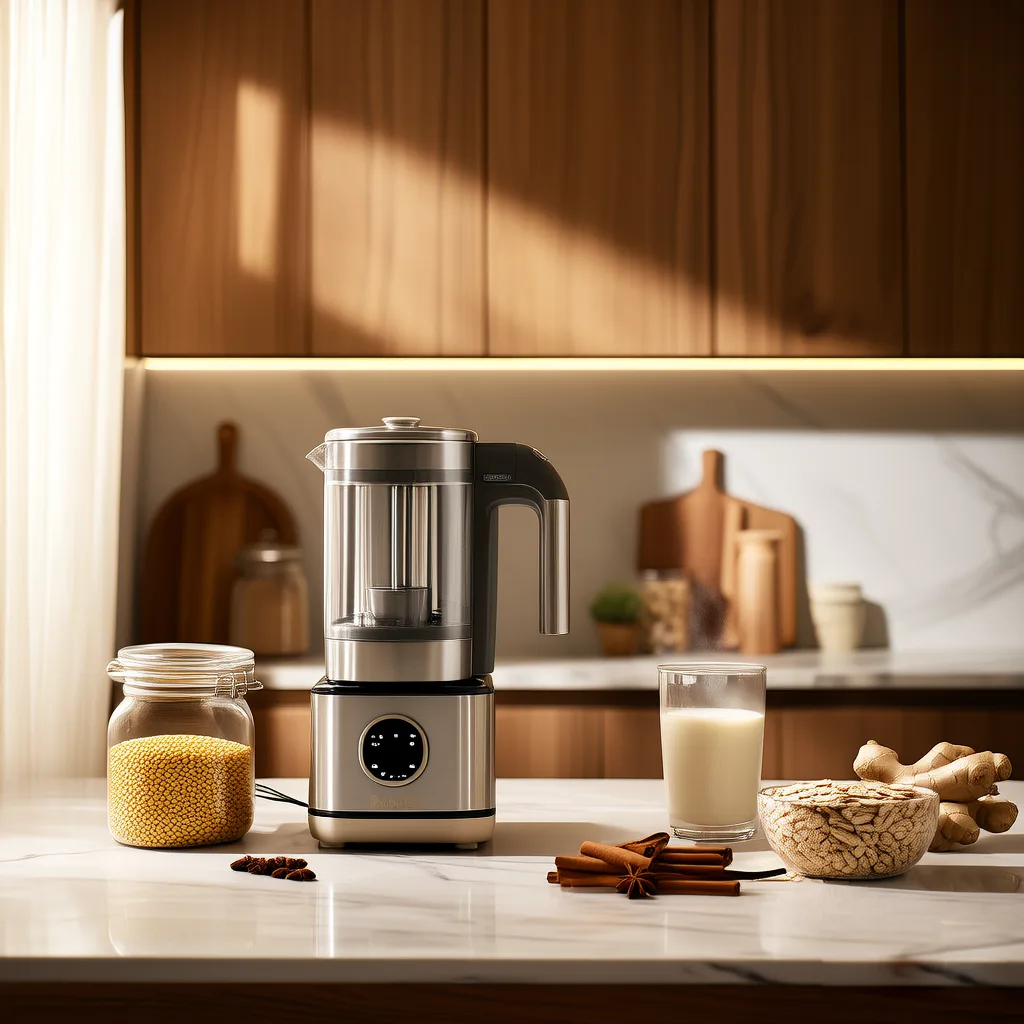

Congratulations on embarking on your journey to homemade, healthy beverages! Each morning can now be filled with rich plant-based milk, comforting grain porridge, and kitchen moments as warm as a hug.
If you’re standing before this new machine wondering, “Where do I even begin?”—don’t worry. This guide will be your companion, from the first try to becoming second nature. No complicated jargon, just clear steps, practical tips, and a spark of inspiration to help you fall for this new partner and for a warmer morning routine.
At ULTRATECHLIVING, we believe thoughtful care begins with simplicity, peace of mind, and enjoyment.
First Meeting – Getting to Know Your New Companion
✅ Unboxed and Ready
Before we start, let’s get acquainted:
- Main Unit (The “brain” that runs the show)
- Inner Pot / Blending Cup (Where the magic happens)
- Lid with Blades
- Measuring Cup (The secret to perfect ratios!)
- Power Cord
- Optional Accessory: Filter
🔍 Safety First: Check the machine for any shipping damage. Always ensure the voltage matches your region (e.g., use 120V in North America). When in doubt, consult the included manual.
🧼 The “Welcome” Ritual Before First Use
A new appliance might have a faint factory scent—a few simple steps will refresh it:
- Wash all removable parts (inner pot, lid, measuring cup) with mild detergent and warm water.
- Add clean water and 1 tablespoon of white vinegar or lemon juice to the inner pot.
- Run a “Clean” or “Boil Water” cycle (if your model has this function).
- Discard the liquid and rinse thoroughly. Now, you’re all set.
💡Tip: This step isn’t just about freshness—it’s your first moment of care. And it sets the tone for everything you’ll make together.

Your First Perfect Cup — Just 4 Simple Steps
Step 1: Choosing & Soaking Your Beans (The Secret to Smoothness)
- Choose the right beans: Use dry, plump soybeans (yellow or black). Avoid pre-cooked or canned beans.
- Why soak? Softer beans = smoother texture, higher yield, protection for the blades, and better flavor.
- How to soak: → Submerge the beans completely in cold water, 2-3 cm above the beans. → Soak for 6-8 hours (or overnight). Refrigerate during summer to prevent fermentation. → Quick Method: Soak beans in boiling water for about 2 hours.
Step 2: Precise Measuring – The Golden Ratio
- Use the included measuring cup for accuracy.
- Classic Ratio: Soaked beans to water at 1 : 10 (e.g., 1 cup beans to 10 cups water).
- Respect the Water Lines! → Minimum Line: Prevents burning from dry operation. → Maximum Line: Prevents boiling overflow. → Following these lines ensures safe and successful results every time.
🌾 Flavor Boost: Add 1-2 tablespoons of rice, oats, or almonds for extra creaminess!
Step 3: Assembly & Start – Safety is Key
- Pour the soaked beans and water into the inner pot.
- Align the lid with the pot’s locking tabs and rotate until it locks (often with a “click” sound). → This is crucial to prevent steam leaks and spills.
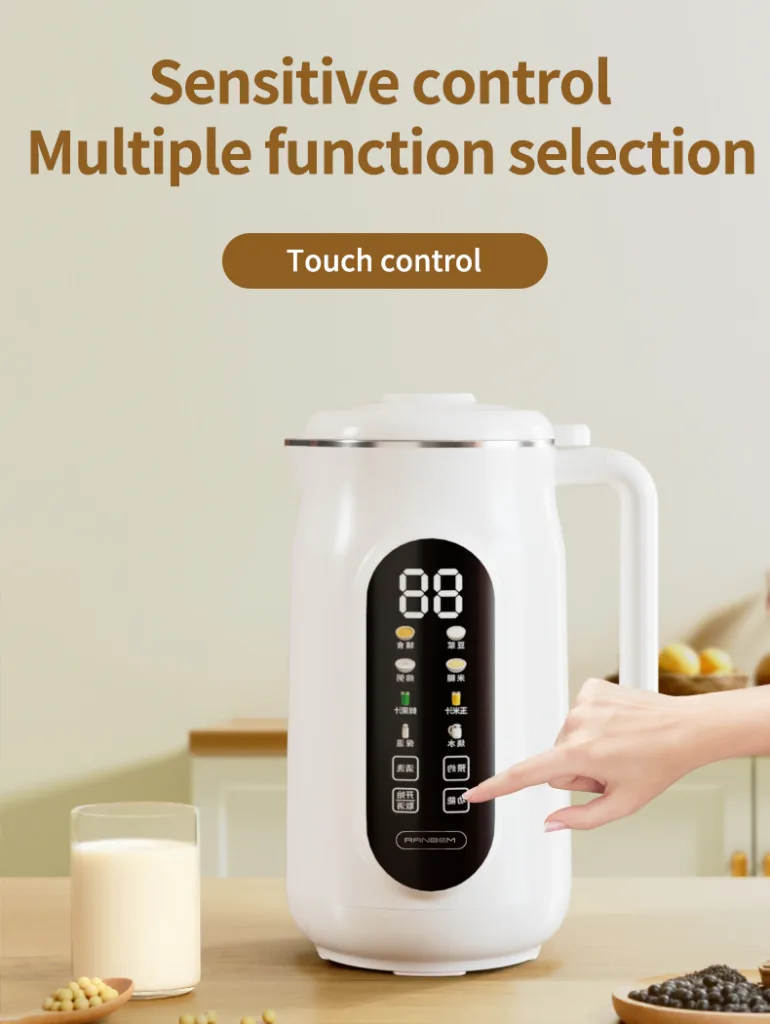
- Plug in the power, select your desired program (e.g., “Soy Milk”, “Multi-Grain”), and press start.
⚠️ Important: Always ensure the lid is securely locked before starting. Do not move the appliance while it’s operating.
Step 4: Wait & Enjoy
The machine will now automatically:
- Heat
- Pulse and blend intermittently
- Cook thoroughly
The whole process takes about 20-30 minutes (depending on the model).
When you hear the beep or see the indicator light turn off, it’s ready!
Wait 2-3 minutes before opening to let internal steam dissipate (caution: hot!). Then, pour, sweeten to taste, and savor the fresh warmth.
Beyond Soy Milk – Unlock Its Full Potential
Your Soy Milk Maker’s abilities extend far beyond just soy milk. It’s a versatile wellness station:
🥣 Inspiration Library:
- Multi-Grain Porridge: Oats, millet, red dates, goji berries—a bowl that warms you up.
- Creamy Pumpkin Soup: Cooked pumpkin, coconut milk, a pinch of spices—creamy soup at the touch of a button (“Soup” mode is ideal if available).
- Nut Milk: Soaked almonds, cashews with water—rich and smooth (please use the “Nut Milk” or related cold beverage setting).
🍯 Masterclass in Flavoring:
- Post-Blend: Add maple syrup, honey, a pinch of salt, or cinnamon.
- During Cooking: Add pitted dates, a vanilla pod, or a small pinch of sea salt for integrated flavor.
- Use Smart Features: The “Delay Start” function lets aroma greet you in the morning; the “Keep Warm” function ensures a warm cup anytime.
🌟 836K Core Experience:
Our SmartTemp™ Intelligent Temperature Control ensures even heating without burning; QuietBlend™ Noise Reduction Technology keeps the process peacefully quiet—even in open living spaces.

Cleaning & Care – For Longer Companionship
Proper care ensures lasting partnership.
🧽 Clean Immediately After Use (This is the best time!)
- After pouring out your drink, rinse the inner pot with water immediately.
- Focus on the Lid Assembly: Wipe with a damp cloth—never submerge the entire lid unit in water. → Gently clean around the “Anti-Overflow Sensor” and “Temperature Sensor” with a soft cloth or brush.
- Wash the inner pot and measuring cup with a soft sponge.
- Wipe the Main Unit: Disconnect the power first, then wipe the body with a slightly damp, soft cloth.
🔁 Monthly Deep Care:
Ensure all parts are completely dry before reassembling or storing in a ventilated place.
Run a “Descale” cycle (with a 1:4 mix of white vinegar and water) to prevent limescale buildup.
Common Questions, Easy Solutions
We’ve thought ahead for you:
| Issue | Likely Cause | Quick Fix |
|---|---|---|
| Burnt smell | Not enough water, or beans not soaked | Always soak beans; never go below MIN line |
| Overflow during run | Too many ingredients, or lid not sealed | Stay under MAX line; twist lid until locked |
| Gritty texture | Low bean-to-water ratio, or hard water | Use proper ratio; try filtering through a nut milk bag |
| Machine won’t start | Lid not aligned, or dry-run detected | Ensure lid is secure; always add liquid |
❓ If the issue persists, you can consult the full electronic manual [link], or contact our customer service team anytime at [email protected]. We are here to help.
In the End, It’s More Than an Appliance – It’s Your Morning Promise of Comfort
A good soy milk maker doesn’t just blend ingredients.
It blends care, consistency, and calm into your daily life.
It’s the gentle hum at dawn,
The aroma of home filling the air,
The assurance that what’s in your cup is pure, simple, and made with intention.
At Ultratechliving, we create not just appliances, but daily rituals filled with warmth.
Here’s to your first cup, and to every one that follows.
🌱 Share Your Signature Creation!
What’s your unique specialty?
Chia seed oat milk? Black sesame paste? Or a golden turmeric latte?
Share your recipe in the comments!
We’ll feature our favorites in next month’s “Community Kitchen” column—and send a special thank-you gift to one lucky contributor.
Tag us: #UltratechlivingMorningRitual
P.S.
Every Ultratechliving Soy Milk Maker comes with a 2-Year Worry-Free Warranty and permanent access to our ever-growing online recipe library. Because every step of your journey to delicious living is worth cherishing—to us, and to the future you enjoying that perfect cup.